Teachers blog: how to easily start one for your class

There are numerous reasons to start a teachers blog. Besides being an ideal means to exercise great writing skills and communication, blogging promotes critical thinking, broadens the class content by providing peer-to-peer interactions, and liberates sharing ideas and opinions relevant to your learners. Furthermore, it helps in nurturing literacy, research and organisational skills.
Therefore, it is instrumental for a teacher to set up a blog and below are the best-designed steps to start a teachers blog for your class
Considerations for the Start Out
Before we get down to the steps, there are requirements for a teacher to start blogging. It is a general misconception that you must be a great writer to be a successful blogger. Although a good blogger needs to be influential in the word, it is not a barrier to an aspiring edublogger.
The audience like to read a conversational and informal style of writing. One of the critical requirements for blogging is a passion for your subject. Blogging is about sharing information, and a teacher has several topics to cover, such as lesson plans, student helps, worksheets, and portfolio blogs.
As a teacher, you should consider how you do blogging and the number of students who are connected. It will help if you can get them to blog every week. The obstacle in blogging for students is being unable to type well, being less connected, and lack of excellent writing skills. These are some factors to be ironed out as you create a teacher blog.

Steps to Starting a Teachers Blog
Follow the five steps below to set up your teacher’s blog.
Step 1: select a blog name
The chosen name should be descriptive and catchy. The name will help students, as your readers, to understand what you want to share with them. The choice of words for your name should tell or give an idea of the topic you want your kids to write about.
Once you have the name, you must select a domain like .com, .net, .org, etc. The best domain is .com if you can get it for a reasonable price.
Finally, check if your blog name is available and ensure no one else is using it.
For a teacher, I would highly recommend using one’s name because of the many topics a teacher would need to post: worksheets, student helps, results for parents to see and lesson plans.
The blog name is how your students will find your teachers blog. It’s also important to keep the blog name short if you can. You know how students misspell words and URLs so easily, so make your teacher’s blog simple and easy to find.
Step 2: Get Hosting

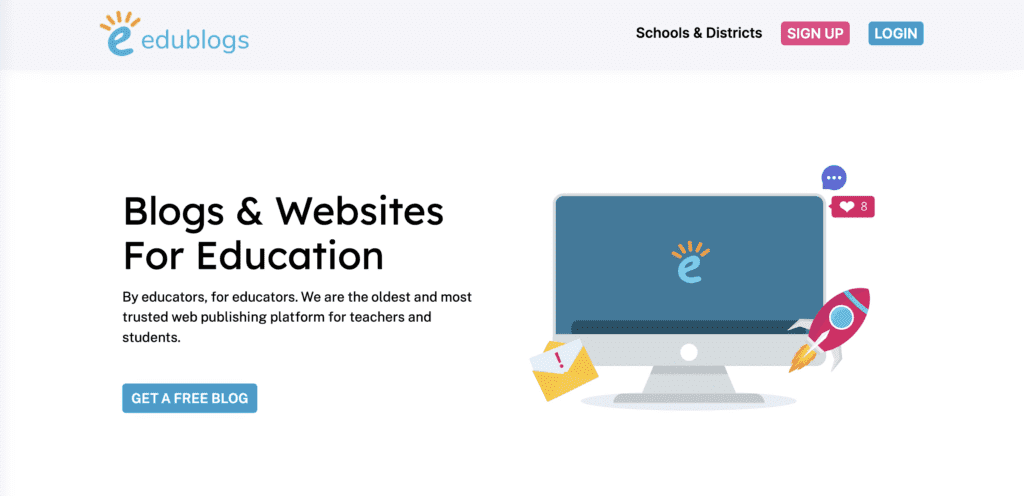
Edublogs Hosting
Do your research and find the best hosting. Google Sites is FREE and super simple to use. It’s also easy to set privacy so it can only be read by your school community which would include parents.
EduBlogs is also FREE and an extremely safe host for schools, especially if you want students to write their own blog posts. They can even develop their own blogs, and each student’s sub-blog can be connected to your teachers blog.
Two things are paramount here: blogging software and blog host. They come packed together. An excellent example of blogging software is WordPress, and it’s FREE.
Google Sites is more like PowerPoint and does not use WordPress. It’s simpler but doesn’t prepare your students for the real blogging world, whereas Edublogs uses WordPress. I’ve used both, but Edublogs has the most flexibility.
That being said, Google Sites is super easy to start. Each student can have their blog set up and post published in one lesson. There’s nothing to update too. Whereas theirs a big learning curve for students using WordPress. It’s really up to your preference and what you feel your students can do.

Google Sites
Step 3: Blog Customisation
The blog should be original and unique. The easiest way is to select a free WordPress template and tweak it to get a perfect blog. Google Sites have some simple theme choices and are no big deal. Edublogs uses WordPress, which has numerous free themes to choose from. In my opinion, the genesis theme is the most robust, but anything will do.
Step 4: Writing the Blog Post
Post your first written blog. Now the fun begins. Here is where you write your lesson plans and worksheets. Google Sites is connected to Google Drive and Google Classroom, making it even simpler if your school already uses Google apps. If you are using WordPress on Edublogs, there will be a default blog post that you will need to delete and start yours. Buttons for adding links and pictures are available.
Step 5: Promoting your teachers blog
Having a well-designed blog and excellent writing is the first step of blogging. As a teacher, you must promote your teachers blog to students, parents and internet users. You can post the links to your blog on social media and maintain high-quality content writing to keep the current audience.

Blogging helps student writing grow
Blogging can be hard and challenging for a teacher with all the other things we have to do, but it’s also fun. It provides a gathering place to discuss the class outside of class. It allows you to capture snapshots of the academic year via several forms of media. Also, there is free flow and sharing of information that interests the students.


